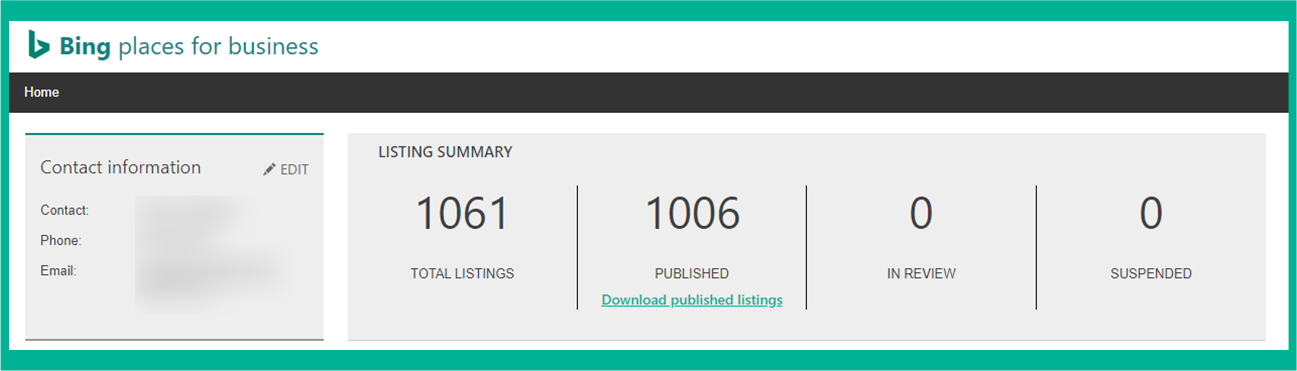
The Rundown
hide


Read This Next...:
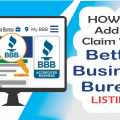 How to Add or Claim Your Better Business Bureau Listing For HVAC & Appliance Repair Business
 How to Add or Claim an Apple Maps Business Listing using Apple Business Connect for HVAC and Appliance Repair Businesses
 How to Add or Claim Your Business Listing on Hotfrog for HVAC and Appliance Repair Services